
 I’m in love with Butcher Block countertops. They’re so homey and practical. Every time I see them in a kitchen they just look so warm and inviting. Now, I know you guys think I’m crazy because wood is so hard to care for, but I just think it looks nice.
I also really love the look of reclaimed wood. It’s uneven, coarse texture looks so original, and it goes so well with this farmhouse style island top. For this project, even though I used new boards, they are treated in such a way that they look older than they are. I also didn’t stress about my boards being uneven and slightly warped. It just added to the rustic chic look I was going for.
The thought of completely ripping off my countertops scares me a bit, so I thought I would start with my kitchen island, and see how that goes. My old countertops have been faux painted to look like stone, and they’re a serious improvement over the beige laminate that was the precursor to the faux stone, but I still am tired of them.
The cool thing about this island top is it’s easy to make, cost effective, and you can customize the color. My island is a pretty standard length and width, 25×42, but if you have a larger island you can easily change the board dimensions to fit your width.
This is my old island…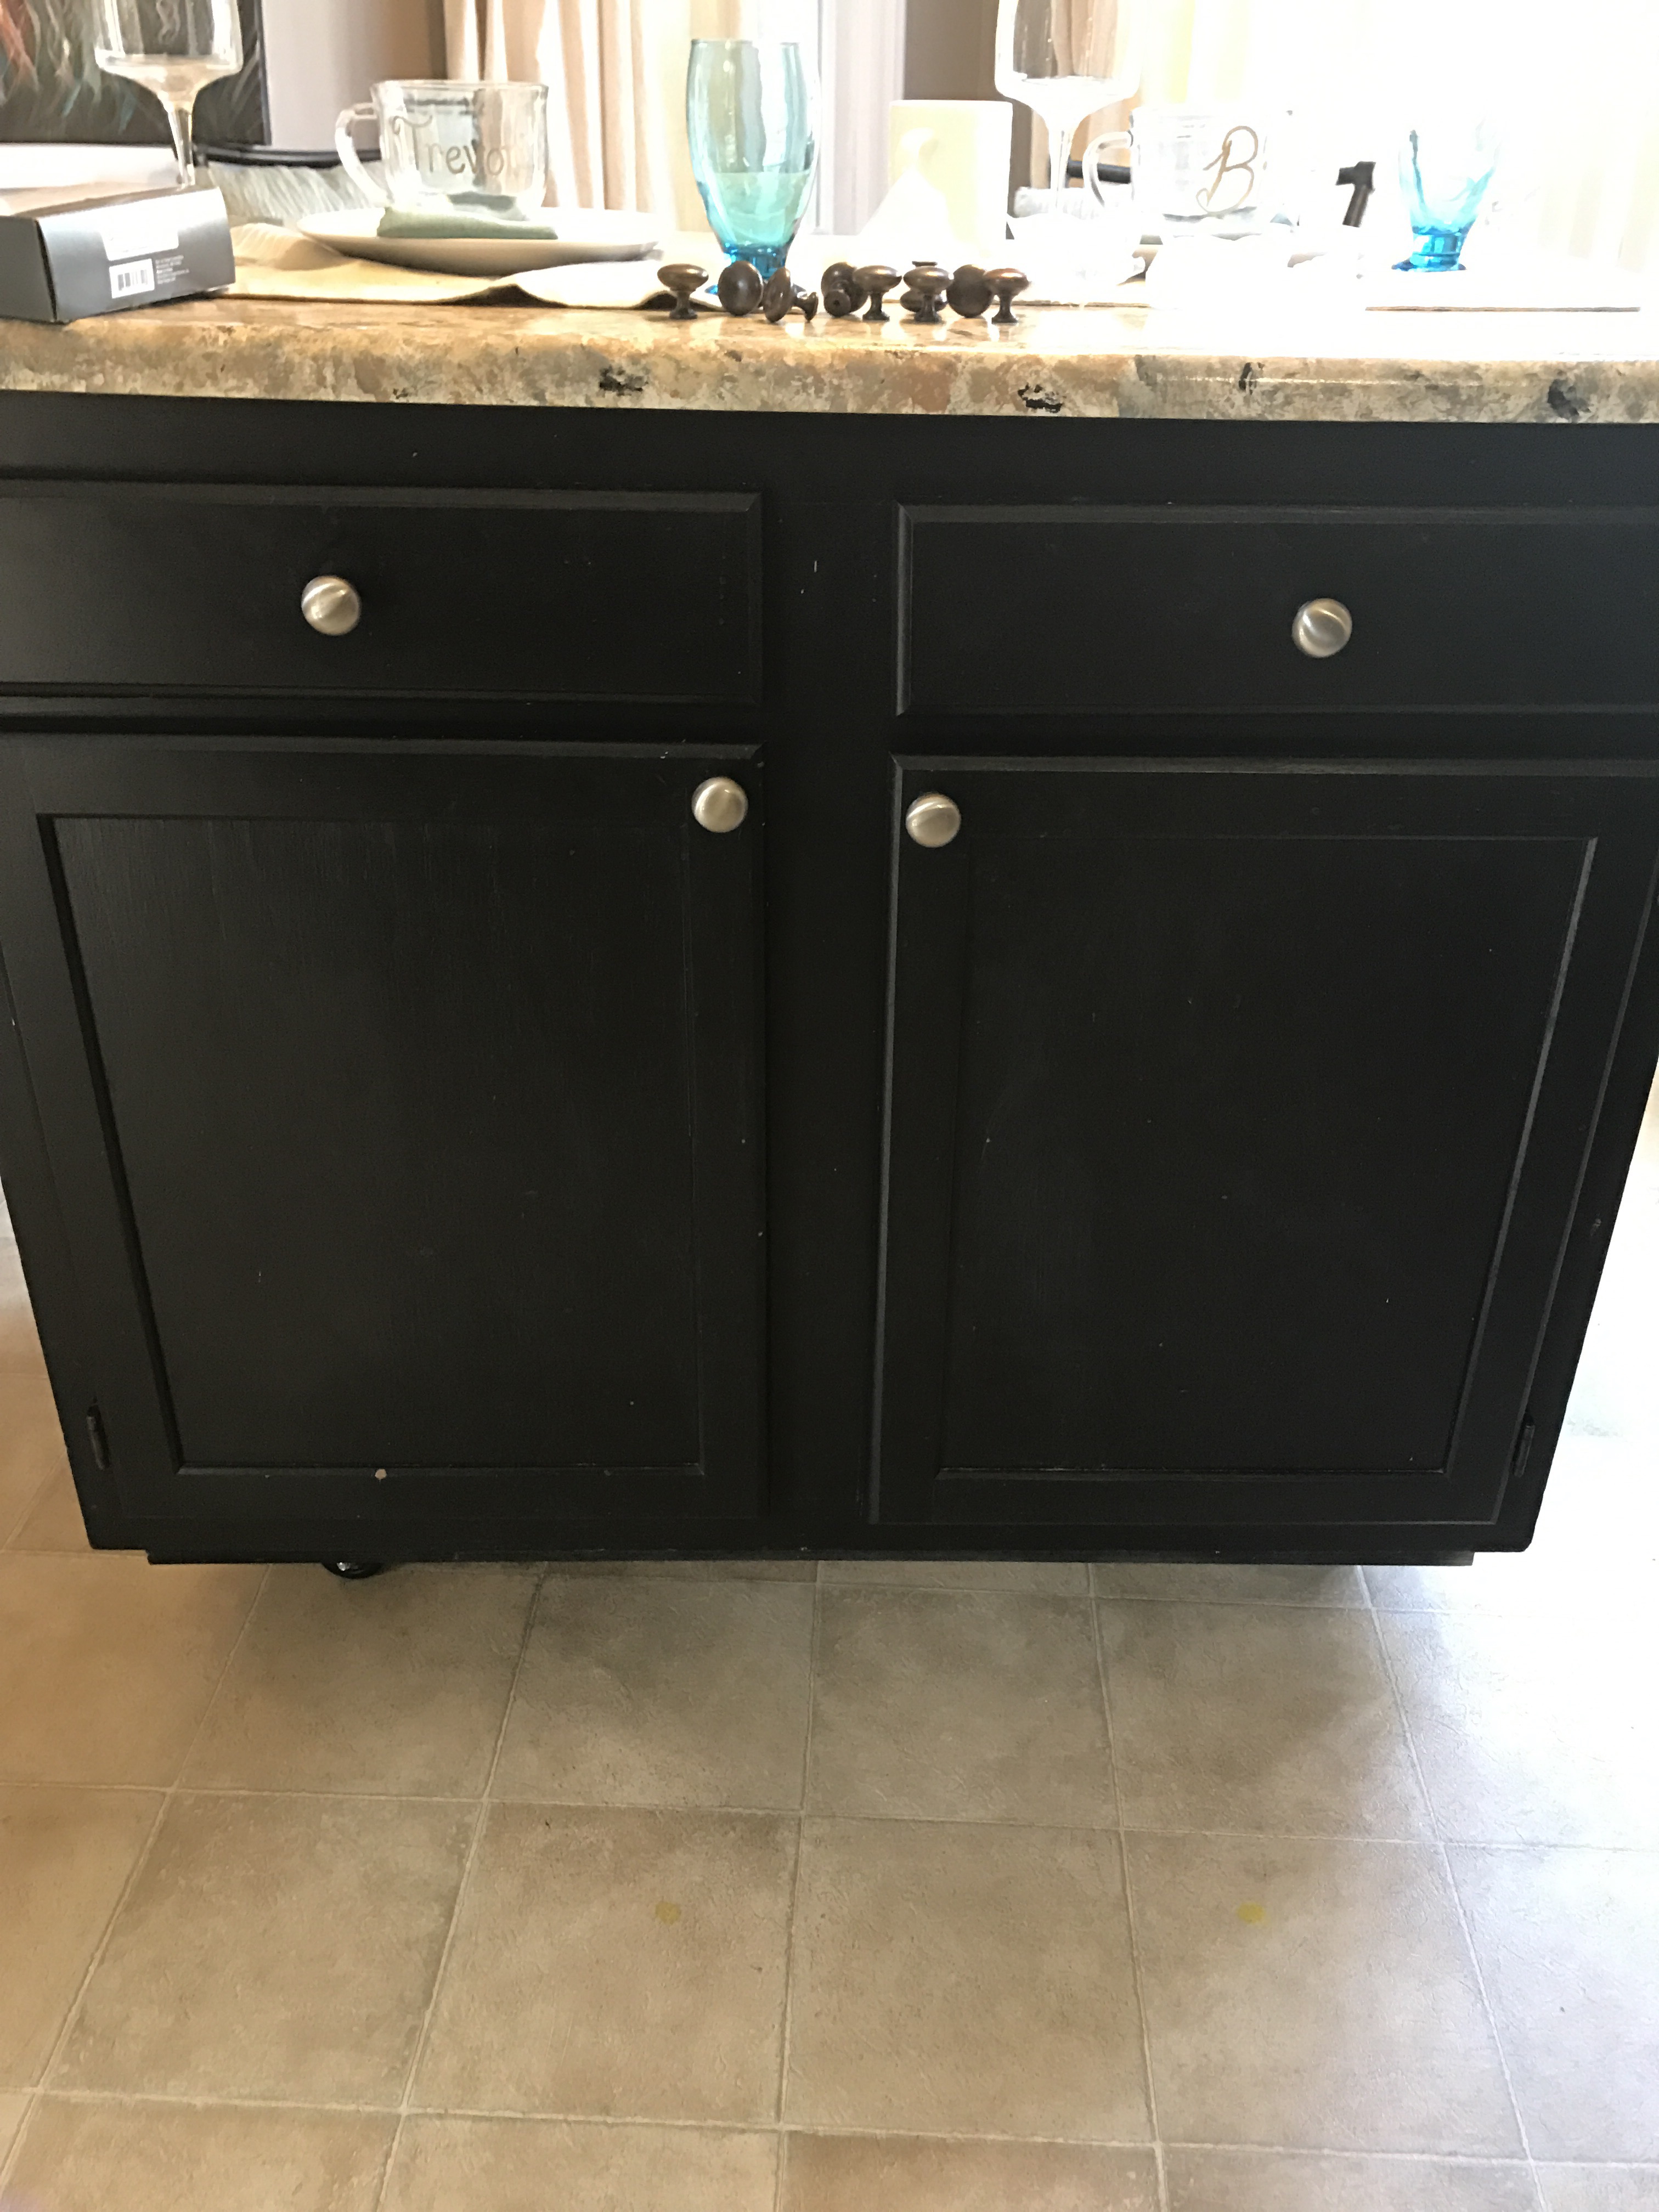 there’s definitely nothing wrong with it, it’s just a little blah.
If you’ve read my previous posts you know that I’m not good at cutting things. For this project I had Lowes cut my boards so the only power tool used was a drill. Lowes will cut pretty much anything you buy there as long as you don’t need an excessive amount or complicated cuts.
Here’s Wally cutting my board😊
To do this project you need:
- 1, 2x8x16 pine, unprimed board cut into 4, 42 inch lengths (this is slightly longer than I needed, but I wanted an overhang)
- 10, #8 wood screws, 2 1/2 inches long
- Good quality natural bristle brush, like Purdy
- Watco Danish Oil in dark walnut
- Liquid nails
- Minwax stainable wood filler
- Coarse grit sandpaper
- Fine grit sandpaper
You will also need a drill with a 9/64 inch bit. I know that’s a weird size, but your drill bit kit should have it. 😉
Pine is a soft wood, that has some natural knots and irregularities. For this project that’s what I was looking for because it feels more rustic. If you don’t like that look you can definitely go with a different wood choice, just expect to pay a lot more for it. Oak and maple would both be excellent choices if you intend to actually cut directly on the surface.
To start, you need to sand your 4 boards…a lot. Use the coarse sand paper to grind down any splinters or rough spots and then use the fine sandpaper to smooth. As you’re sanding pick out the prettiest side of your boards and make sure you know those are the ones that go on top. 
Once done sanding, you can begin attaching your boards to the island. Run a thick bead of liquid nails around the top of the island, and arrange your boards, pressing down to make sure you have good adhesion. I wanted a little bit of an overhang on the back of the island so make sure you space your boards accordingly if you do too. If you want an overhang you’ll need to place something heavy on top of your boards until the adhesive dries. I used a small anvil, but if you don’t have an anvil just use something heavy. Don’t ask me why I have an anvil😬.
Wait an hour or so, until the liquid nails is set, then grab your drill. Your wood screws are actually going to go underneath the island top, through the sides of the island so it’s permanently attached. I don’t have a Kreg Jig, but if you do, use it here. Otherwise, drill your holes with the 9/64 bit in at a steep angle ensuring you do at least 3 per side. Follow by drilling your wood screws in your predrilled pockets. This makes your top nice and sturdy.
The next step is to fill in the gaps between the boards with wood filler. As you can see in the picture below, I didn’t fill in the gaps until after I had stained a few boards. Don’t do it that way, it was backwards and made no sense because I had to go back and re-stain everything. Once the wood filler has dried, which takes about an hour, re-sand the grooves so there are no rough spots. Wood filler will not accept stain the same way your wood does, so only use it where needed- don’t go crazy. 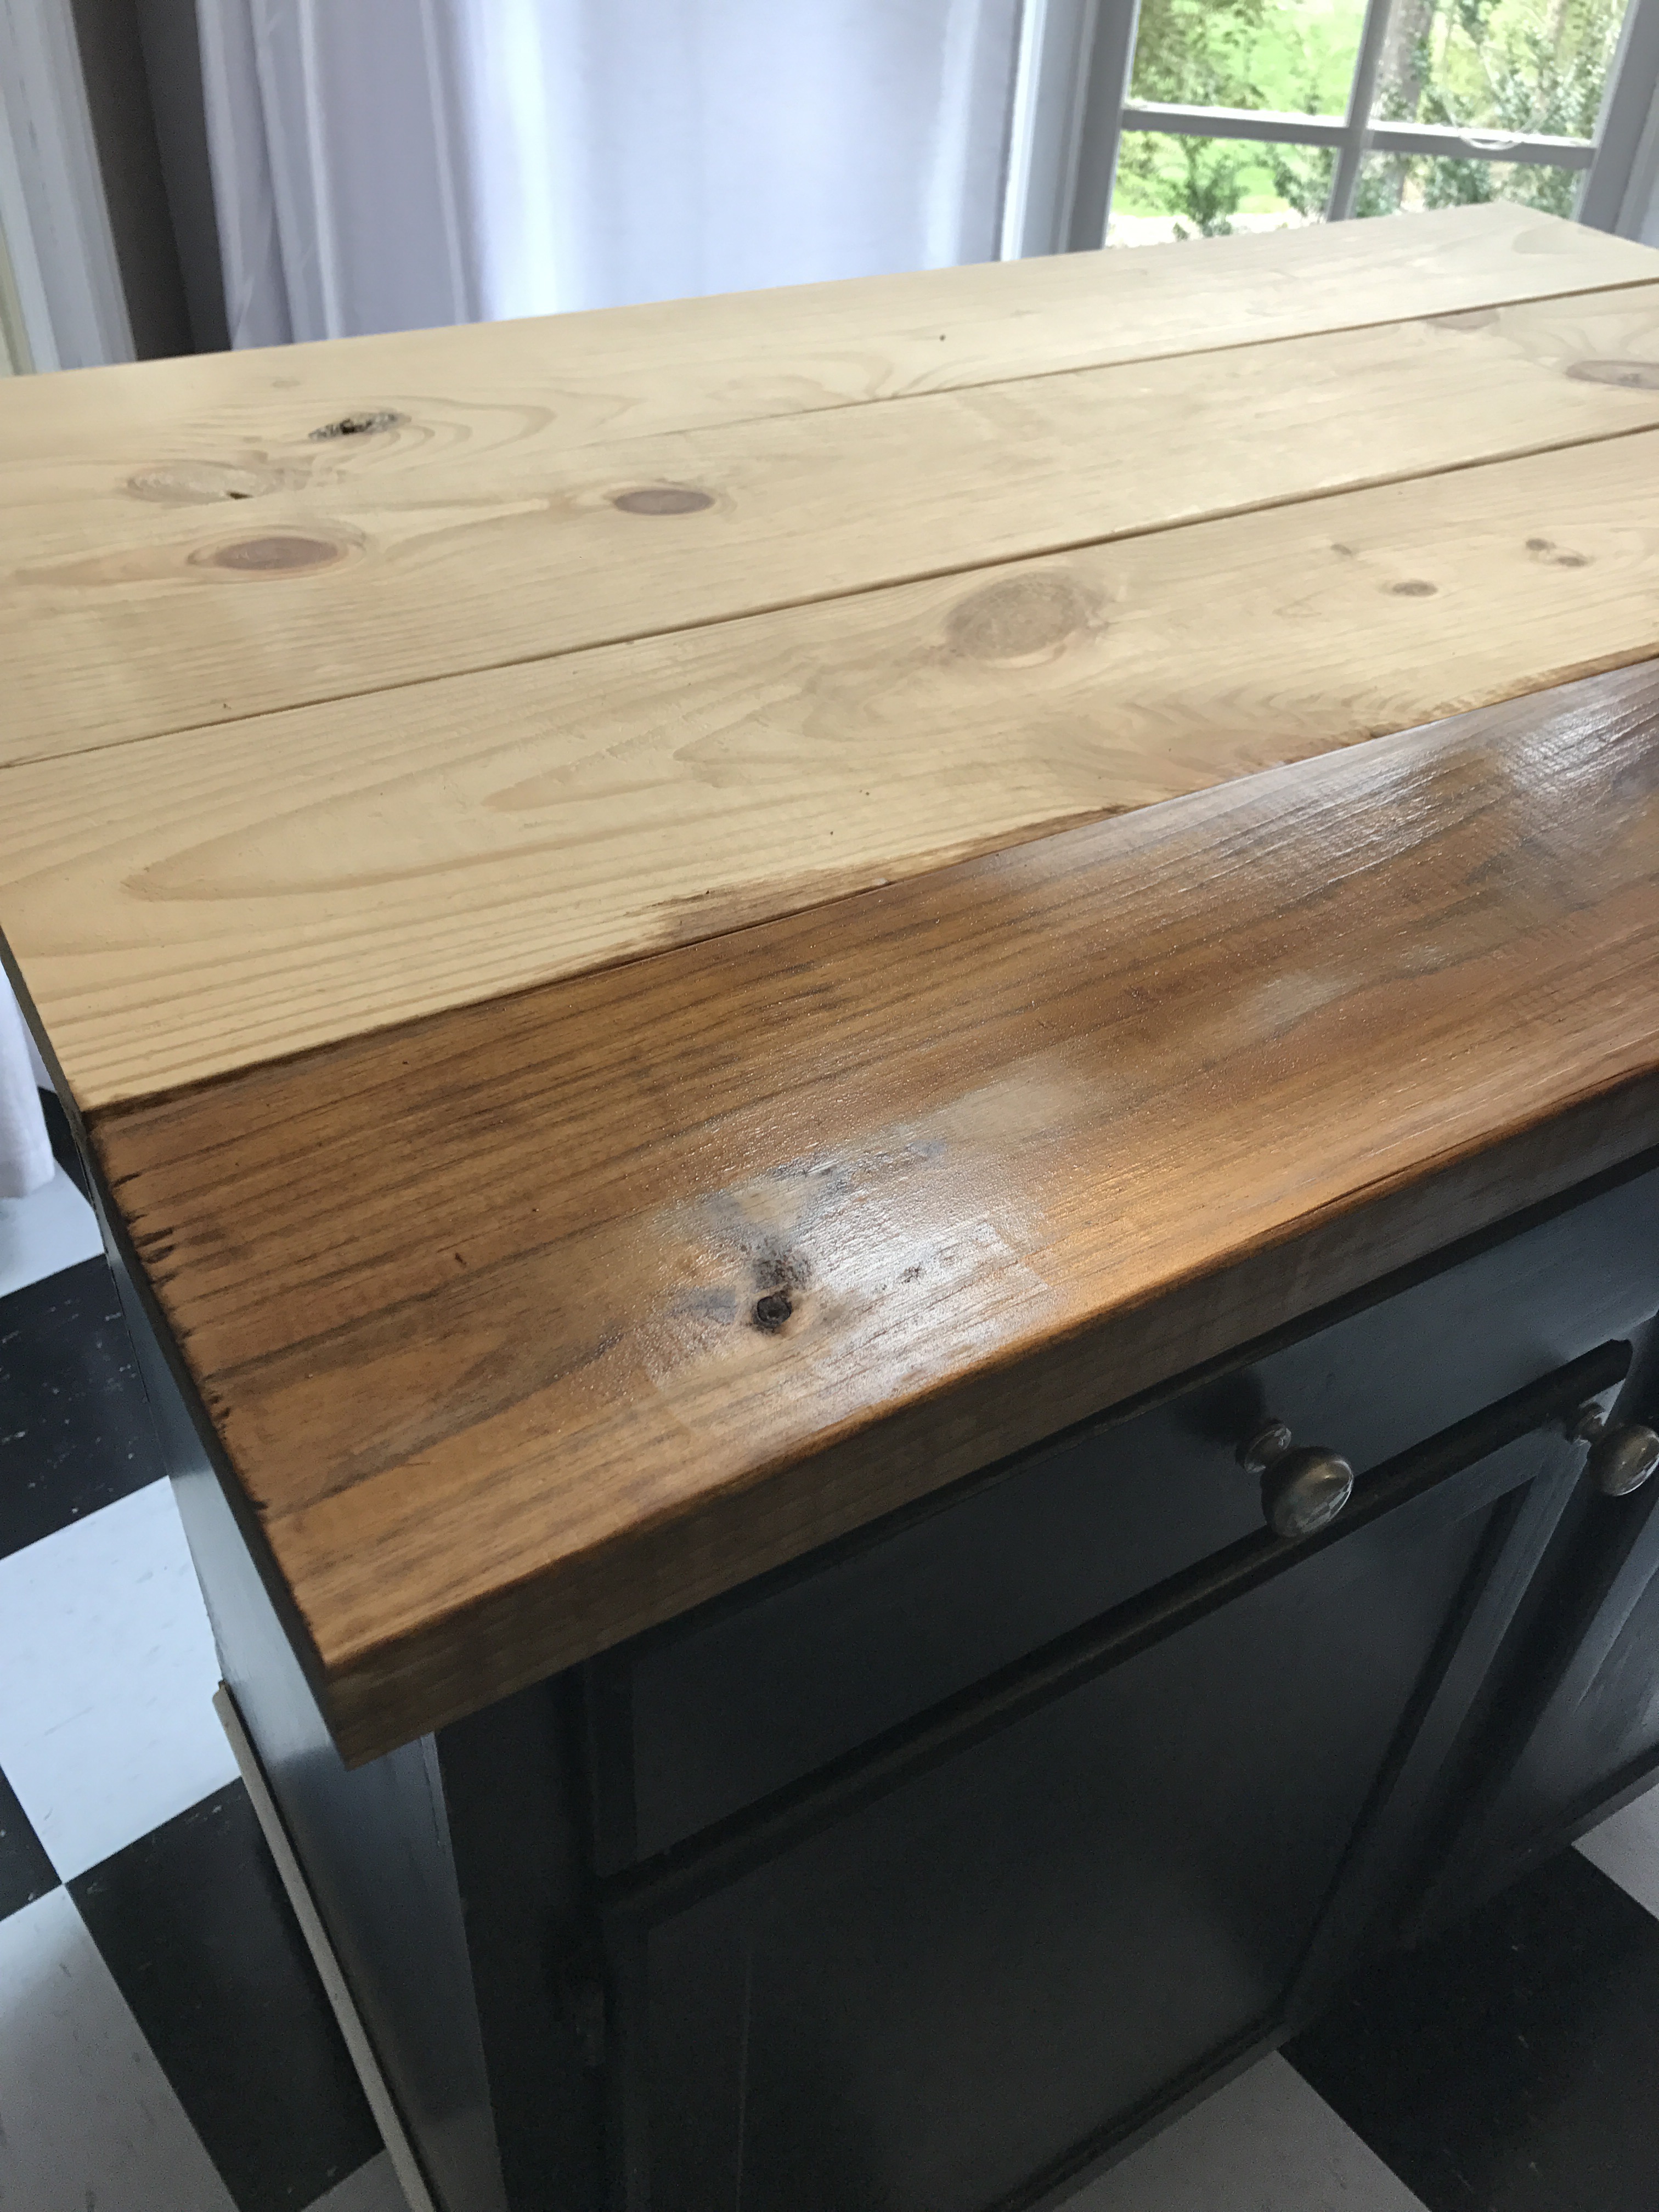
Now, you can grab your paintbrush and Danish Oil. You can apply Danish Oil with a cloth but dont throw the cloth in the trash because the vapors, as they dry, can spontaneously combust. That would be no bueno.
I also just like how easily the Danish Oil applies with a paintbrush, it’s very smooth. You can apply however many coats of the oil you want to, because the color will deepen the more you do. I did a total of 4 to get the color in the pictures below. I did not use a wood conditioner, because I wanted a rustic look, but if you want it to be really smooth you can apply straight linseed oil before you use Danish Oil. Danish Oil is basically linseed oil and varnish, so it’s not a necessary step, but one you can do if you want. 
Once you’ve applied your oil, wait an hour and then wipe down the surface with a soft cloth to remove any excess. If you do as many coats as I did you shouldn’t have to reapply anytime soon. If you do less because you want a lighter color, you may want to apply a butcher block conditioner like Howard’s after about a week of curing. It contains oils and waxes that will strengthen the wood and make it shiny. Reapply Howard’s about once a month to keep your top looking like new.
This was an easy project and turned out great, so let me know if you try it!

