

I noticed about a month ago that Torin’s nursery was looking a little plain. We had our elephant parade wall decals up from Target, but everything in there just looked a little too matching… elephant sheets, elephant mobile, elephant baskets, you get the idea. The overall color scheme of the nursery is mint and gray with hints of royal blue scattered in. It’s very whimsical yet boyish.
See what I mean- cute but a little plain.
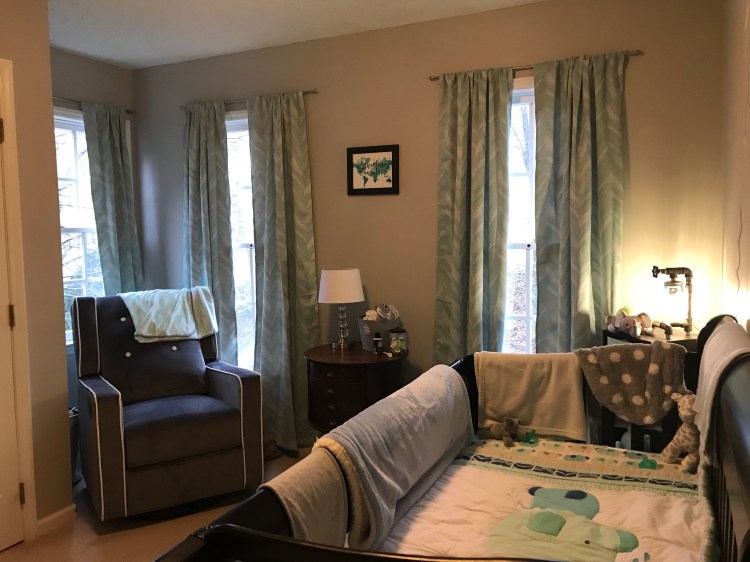
I added in a colorful light feature above our chair, which helped, but the other walls were still looking a bit sad. 
Torin loves his twinkle lights, by the way. I definitely suggest adding them to your nursery decor. The ones we got Here from Amazon have a remote control and are dimmable, which is a nice feature.
I had seen all of the cute button art for nurseries on Pinterest and decided to try my hand at it. The materials that you need for button art are very basic and can all be purchased at a craft/sewing store and/or Amazon.
Here’s your shopping list:
- 1-2 11×14 canvases, depending on how many pieces you want to make.
- Aleene’s Tacky Glue (just the orig)
- Pencil
- Black acrylic paint
- Thin paintbrush
- A wide variety of buttons and/or sparklies. You can really get creative here with your colors. I stuck to mint and blue.
To start, pick a design that you want to follow. It could be initials, words, or an object- the sky’s the limit.
Before you begin smearing glue all over your canvas do a quick sketch of what you want your outline to be. This will help you plan, if you need to make black outlines.
For my “T” I didn’t do a black outline, I just began by glueing my buttons to my pencil sketch. Aleene’s dries relatively fast, so I recommend working in small sections.
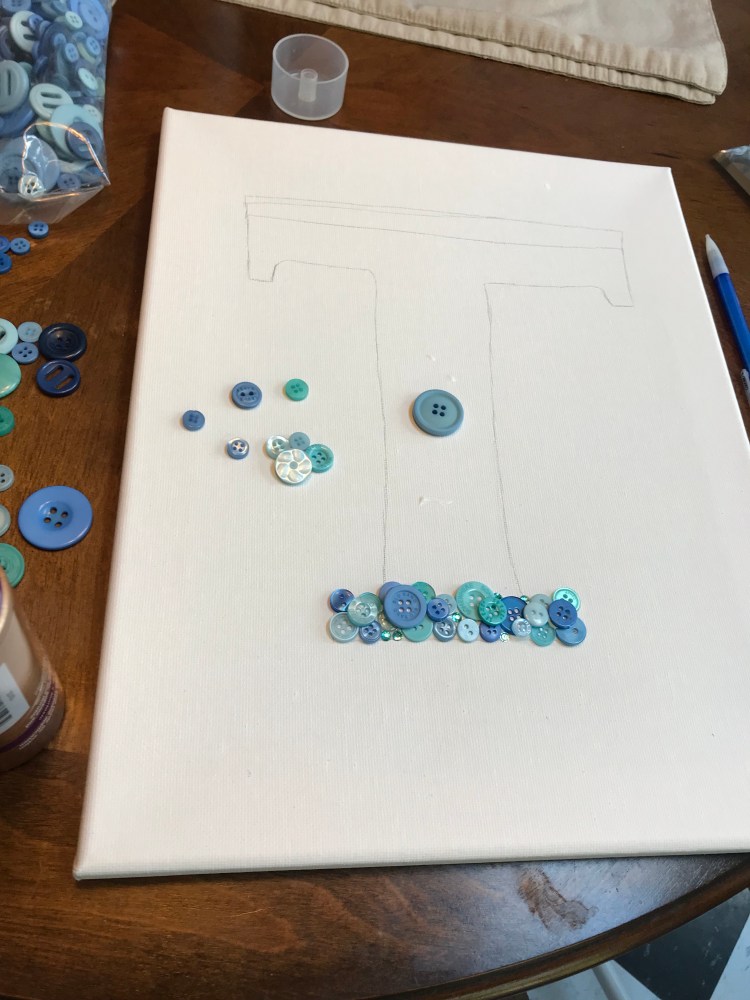
As you begin working your way across your canvas don’t panic if you have white space, just layer buttons to cover the white.

 Just keep layering the buttons until your design is completely filled in. One canvas took me about 2 hours, not including drying time. Once you’ve successfully glued all your buttons down put your canvas in a safe place to dry for about 4 hours. Once it’s completely dried it’s safe to hang.

One thing I will mention is that these canvases are heavier than they look because of the weight of the buttons. If you did choose to make a larger one, such as an 18×24 you may need to use extra sturdy picture hangers or an anchor bolt. Pretty wall art doesn’t help a room’s aesthetic if it’s broken on the floor… and if there’s a hole in your wall. 😊


great idea! so cute
LikeLike