
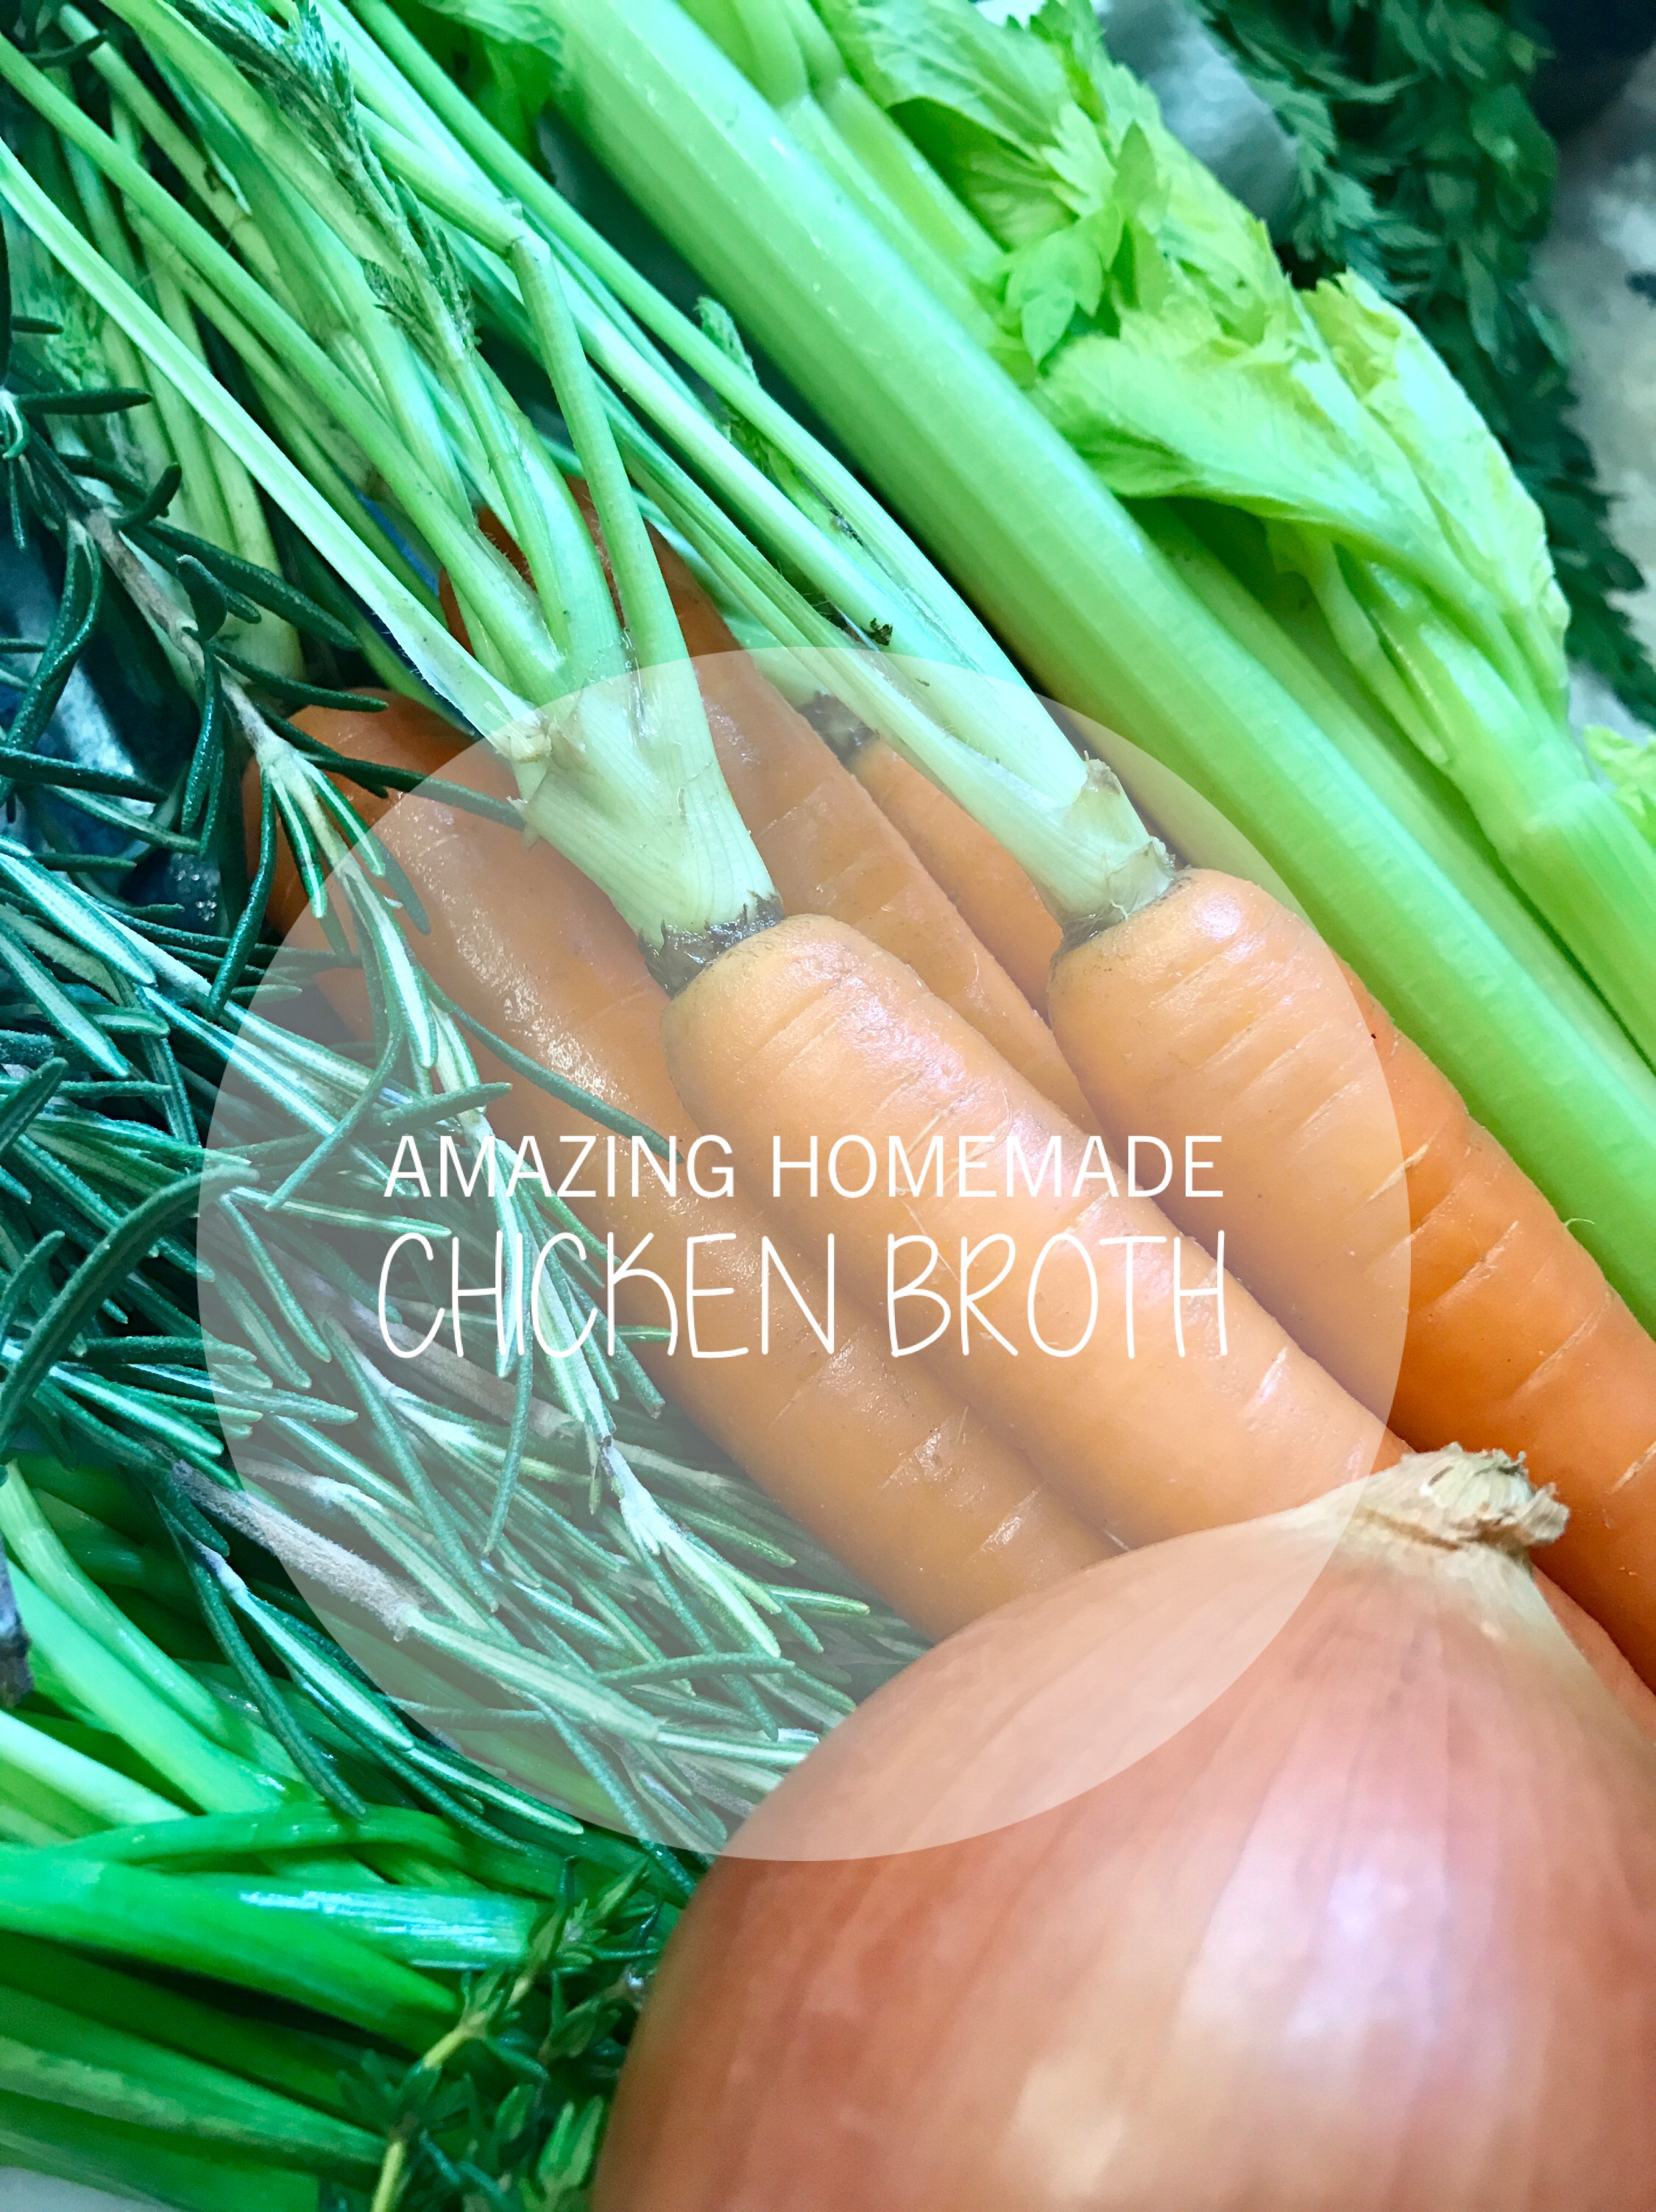
 I love making my own broths and stock. Not only is it cheaper than buying commercial varieties, but it tastes so much richer (and less salty). Chicken broth is also chock full of minerals and amino acids that can help stave off illnesses, and by slow cooking the ingredients you get more nutrient extraction. Today, I made 5 quarts of some seriously delish chicken stock and I’m going to tell you how to do it too. It’s one of those basic life skills everyone should know. 😉
I was off work today, so I made my usual weekday off trip to Harris Teeter. I went a little earlier in the morning than I usually do, and they had just put out some great meat and produce markdowns. I found a whole, organic, cut-up chicken for $5, as well as some fresh thyme and rosemary that had just a few wilty leaves. To make good broth you don’t have to use the best cuts of meat or veggies. In fact, a lot of times you can just use your kitchen scraps. Today, I used a combination of veggies I had on hand that only had another day or so of life in them, and fresh produce from the grocery store. Use what you have. The more veggies you put in your broth the darker color it will be.
Here is a rough picture of what you need: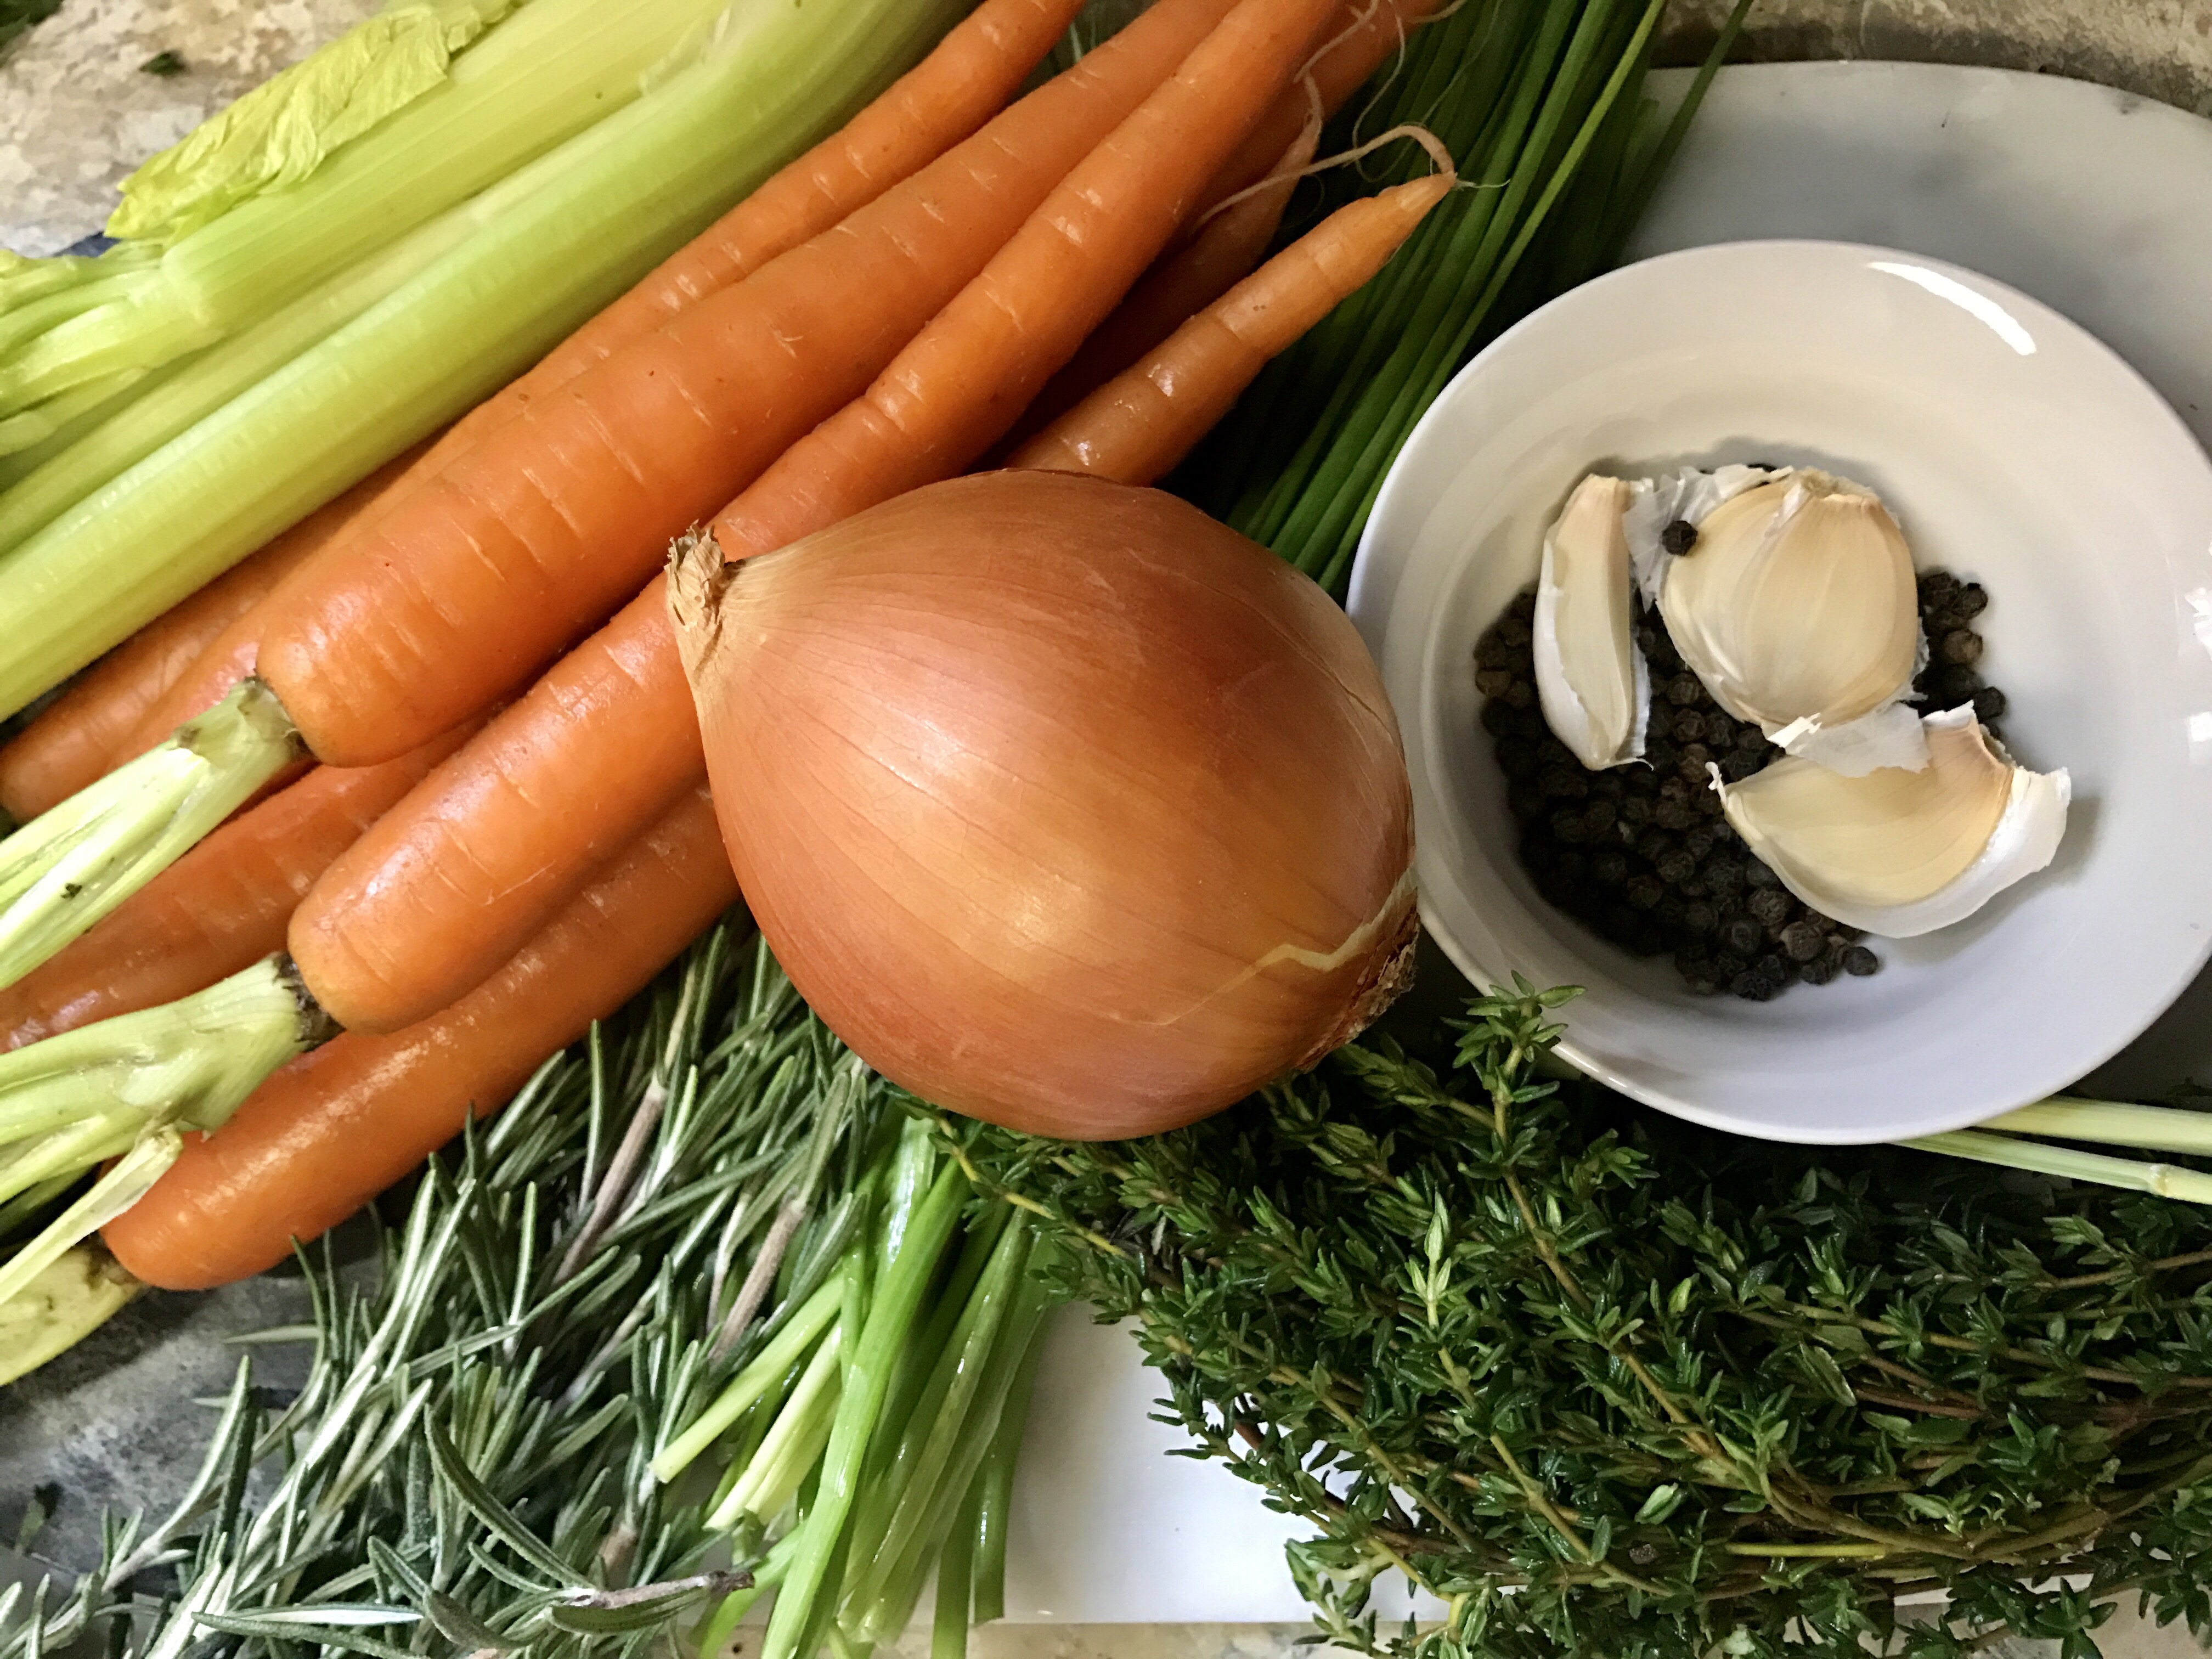
- Celery- about three stalks
- Onion, halved
- 4-5 carrots, with tops if you have them
- Handful of fresh thyme
- Handful of rosemary
- Small bunch chives
- 3 cloves garlic, halved
- 1 tbsp of whole peppercorns
- 2 tbsp kosher salt
- Chicken pieces (must have bones) I used 2 legs, 2 wings, 2 thighs from my organic chicken pack.
Next, just add your ingredients to a large stock pot and cover with water. 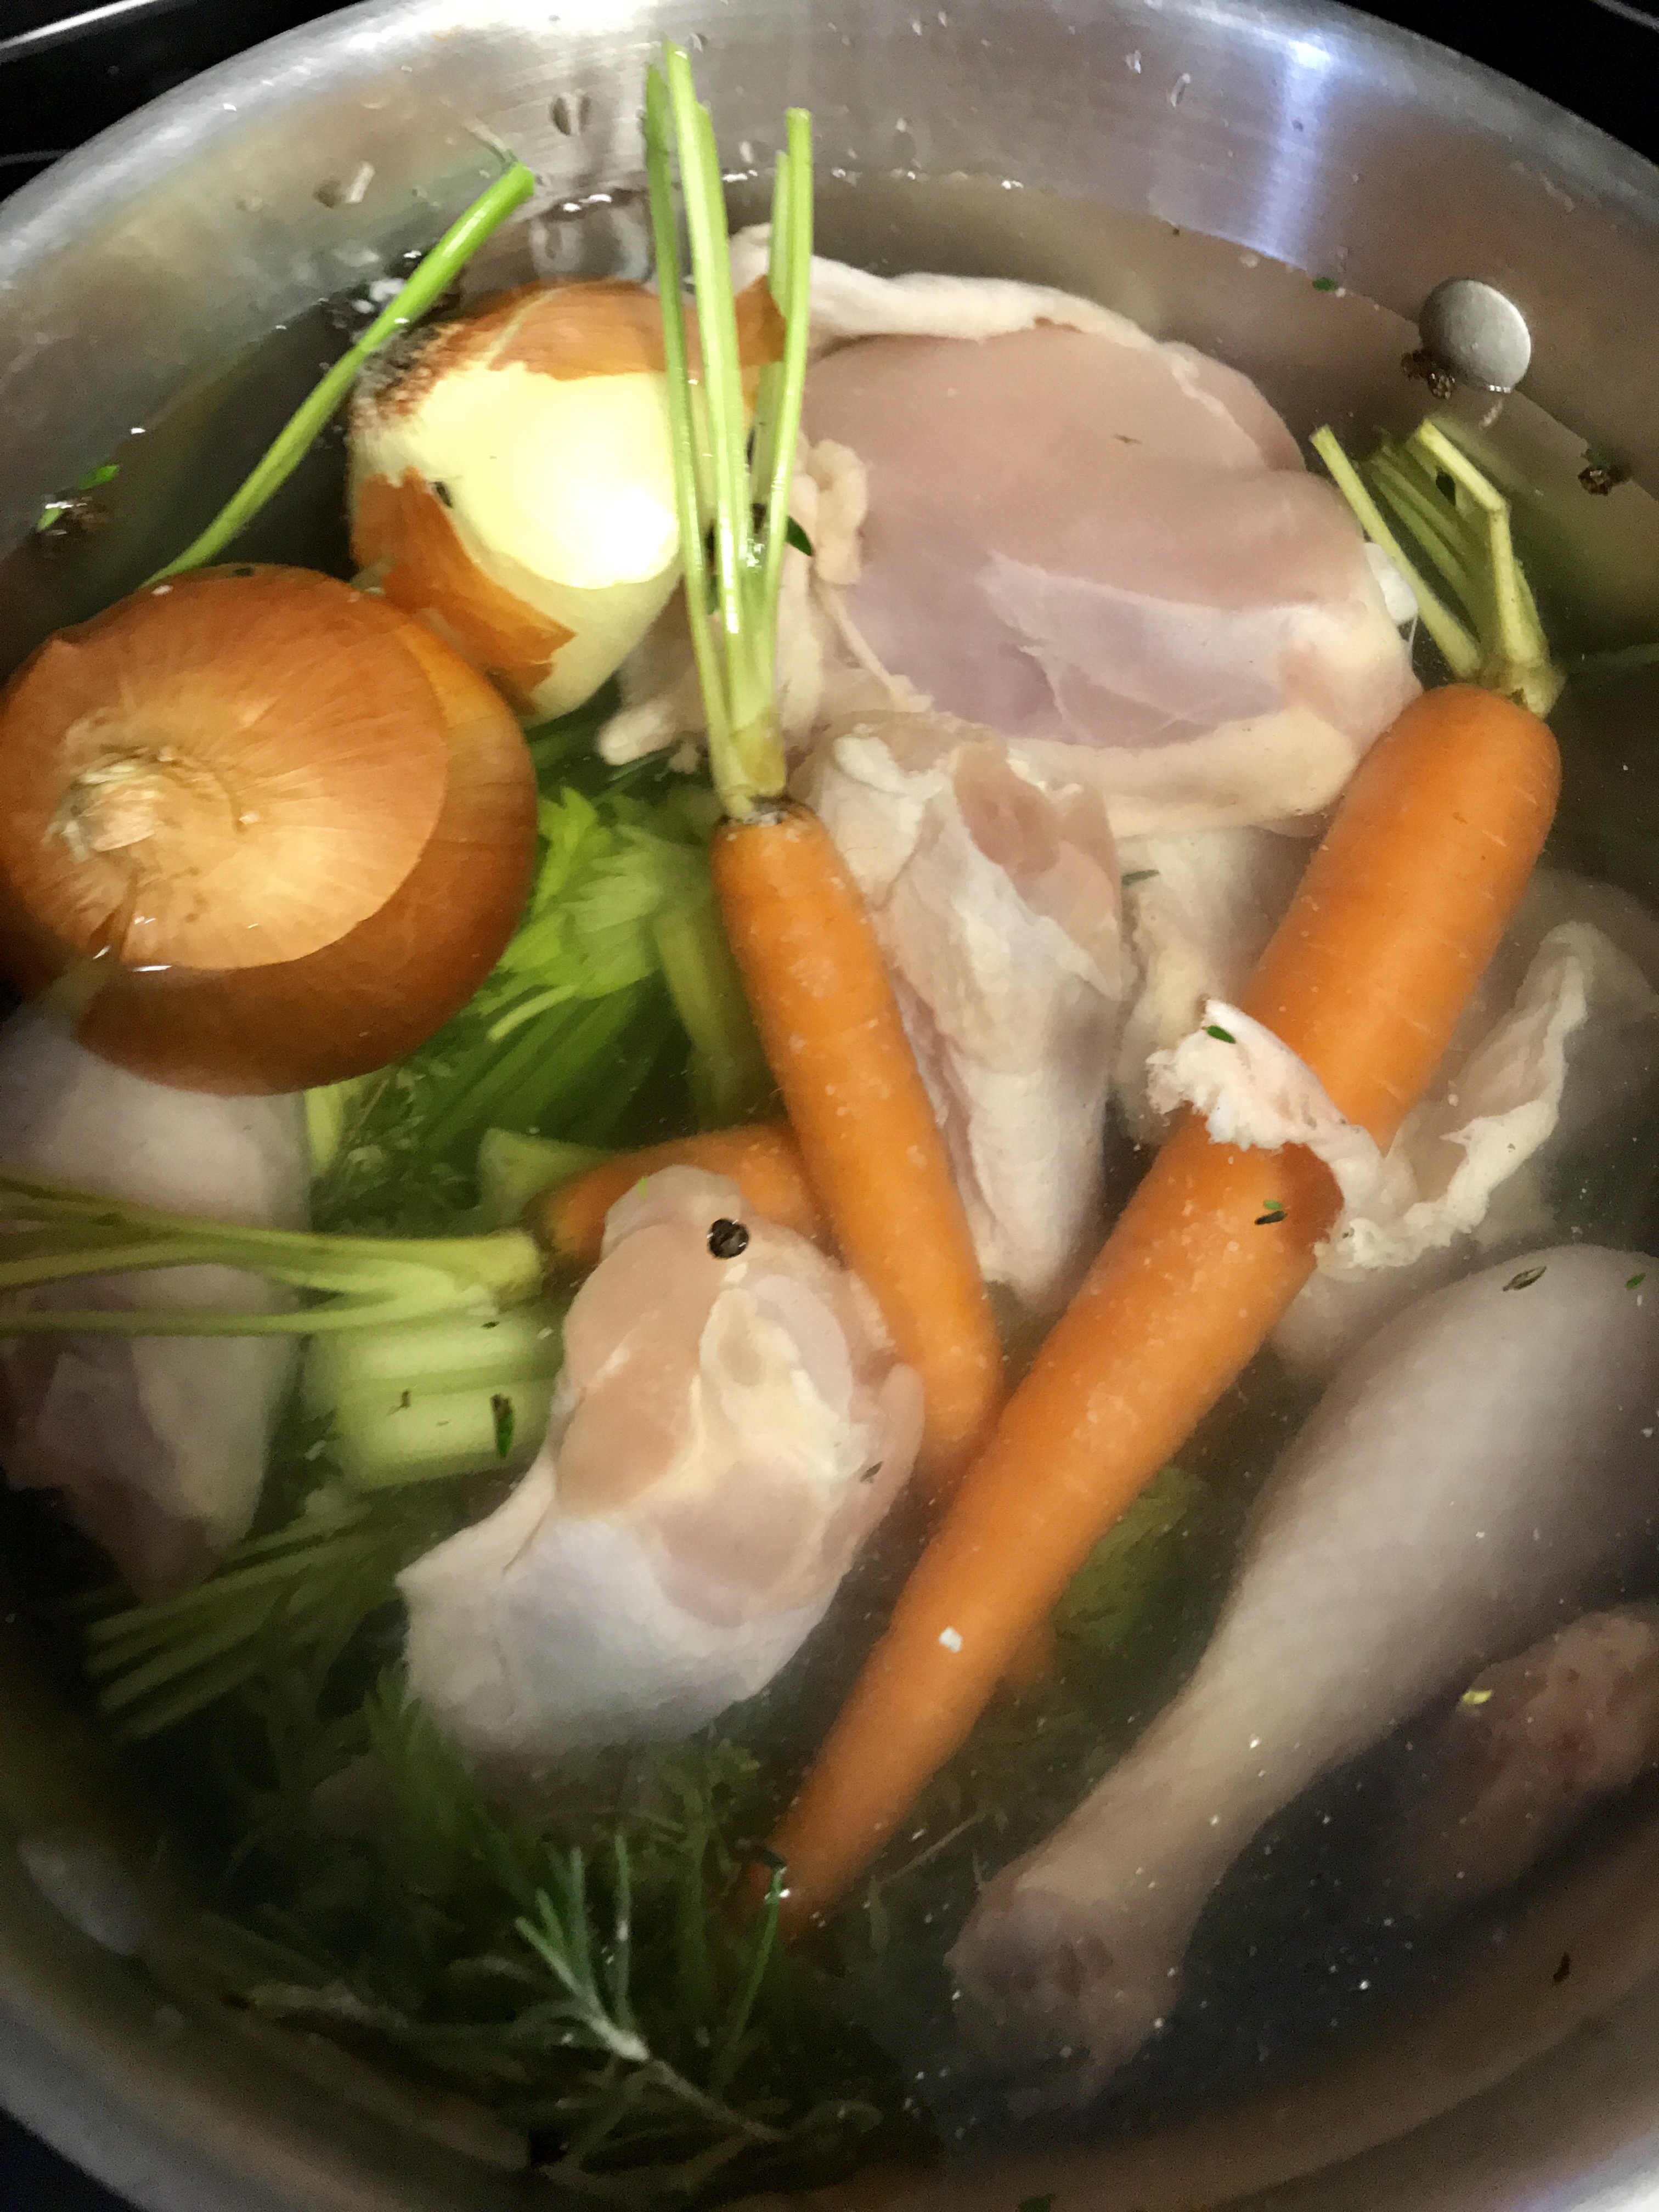
Turn the heat to medium, until it begins to simmer then reduce to medium low heat. Leave on medium low heat for 4 hours. As the chicken cooks it may produce white chicken scum. If it does, just skim it off the top so that your broth stays clear.
After 4 hours you can remove it from the heat to cool. Once it’s cool enough to handle use a strainer to scoop out the large solids and discard. Then pour the remaining liquid through a large strainer over another pot. Your result should look like this: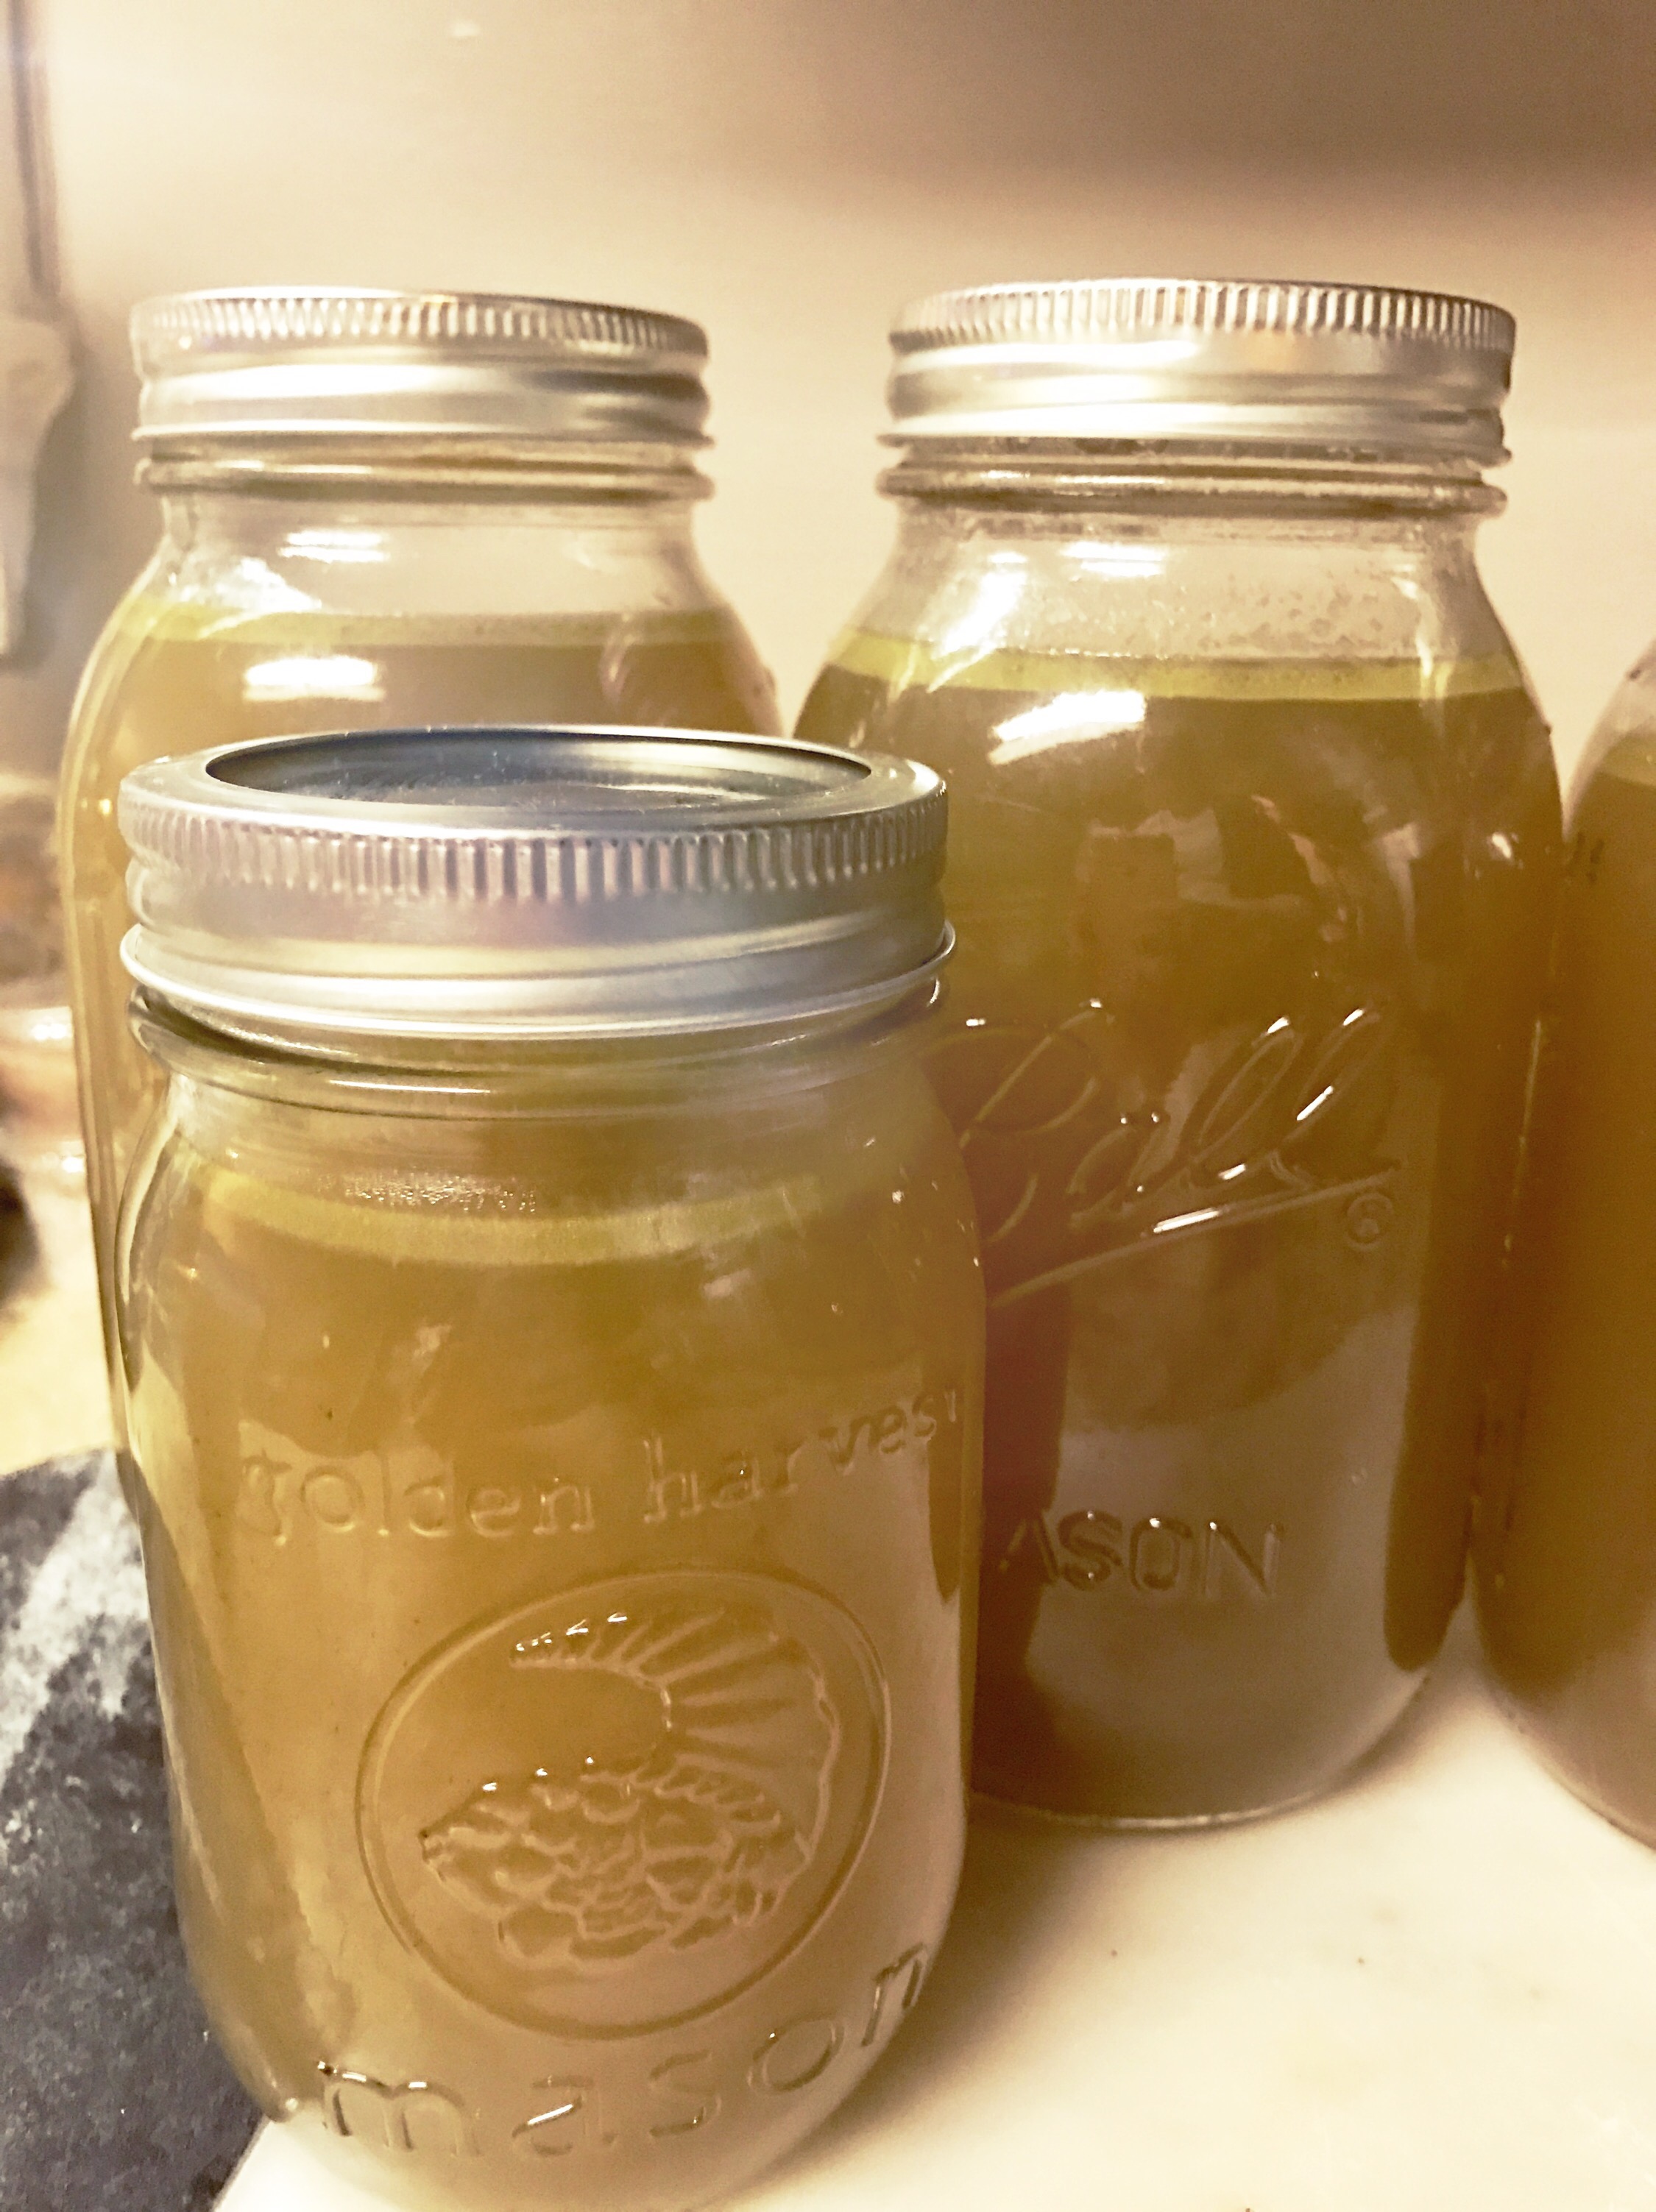
If you do choose to freeze your stock, be careful about using glass jars. While Ball jars do have a freeze- fill line, this is what happened to one of mine even though I chilled it in the fridge first: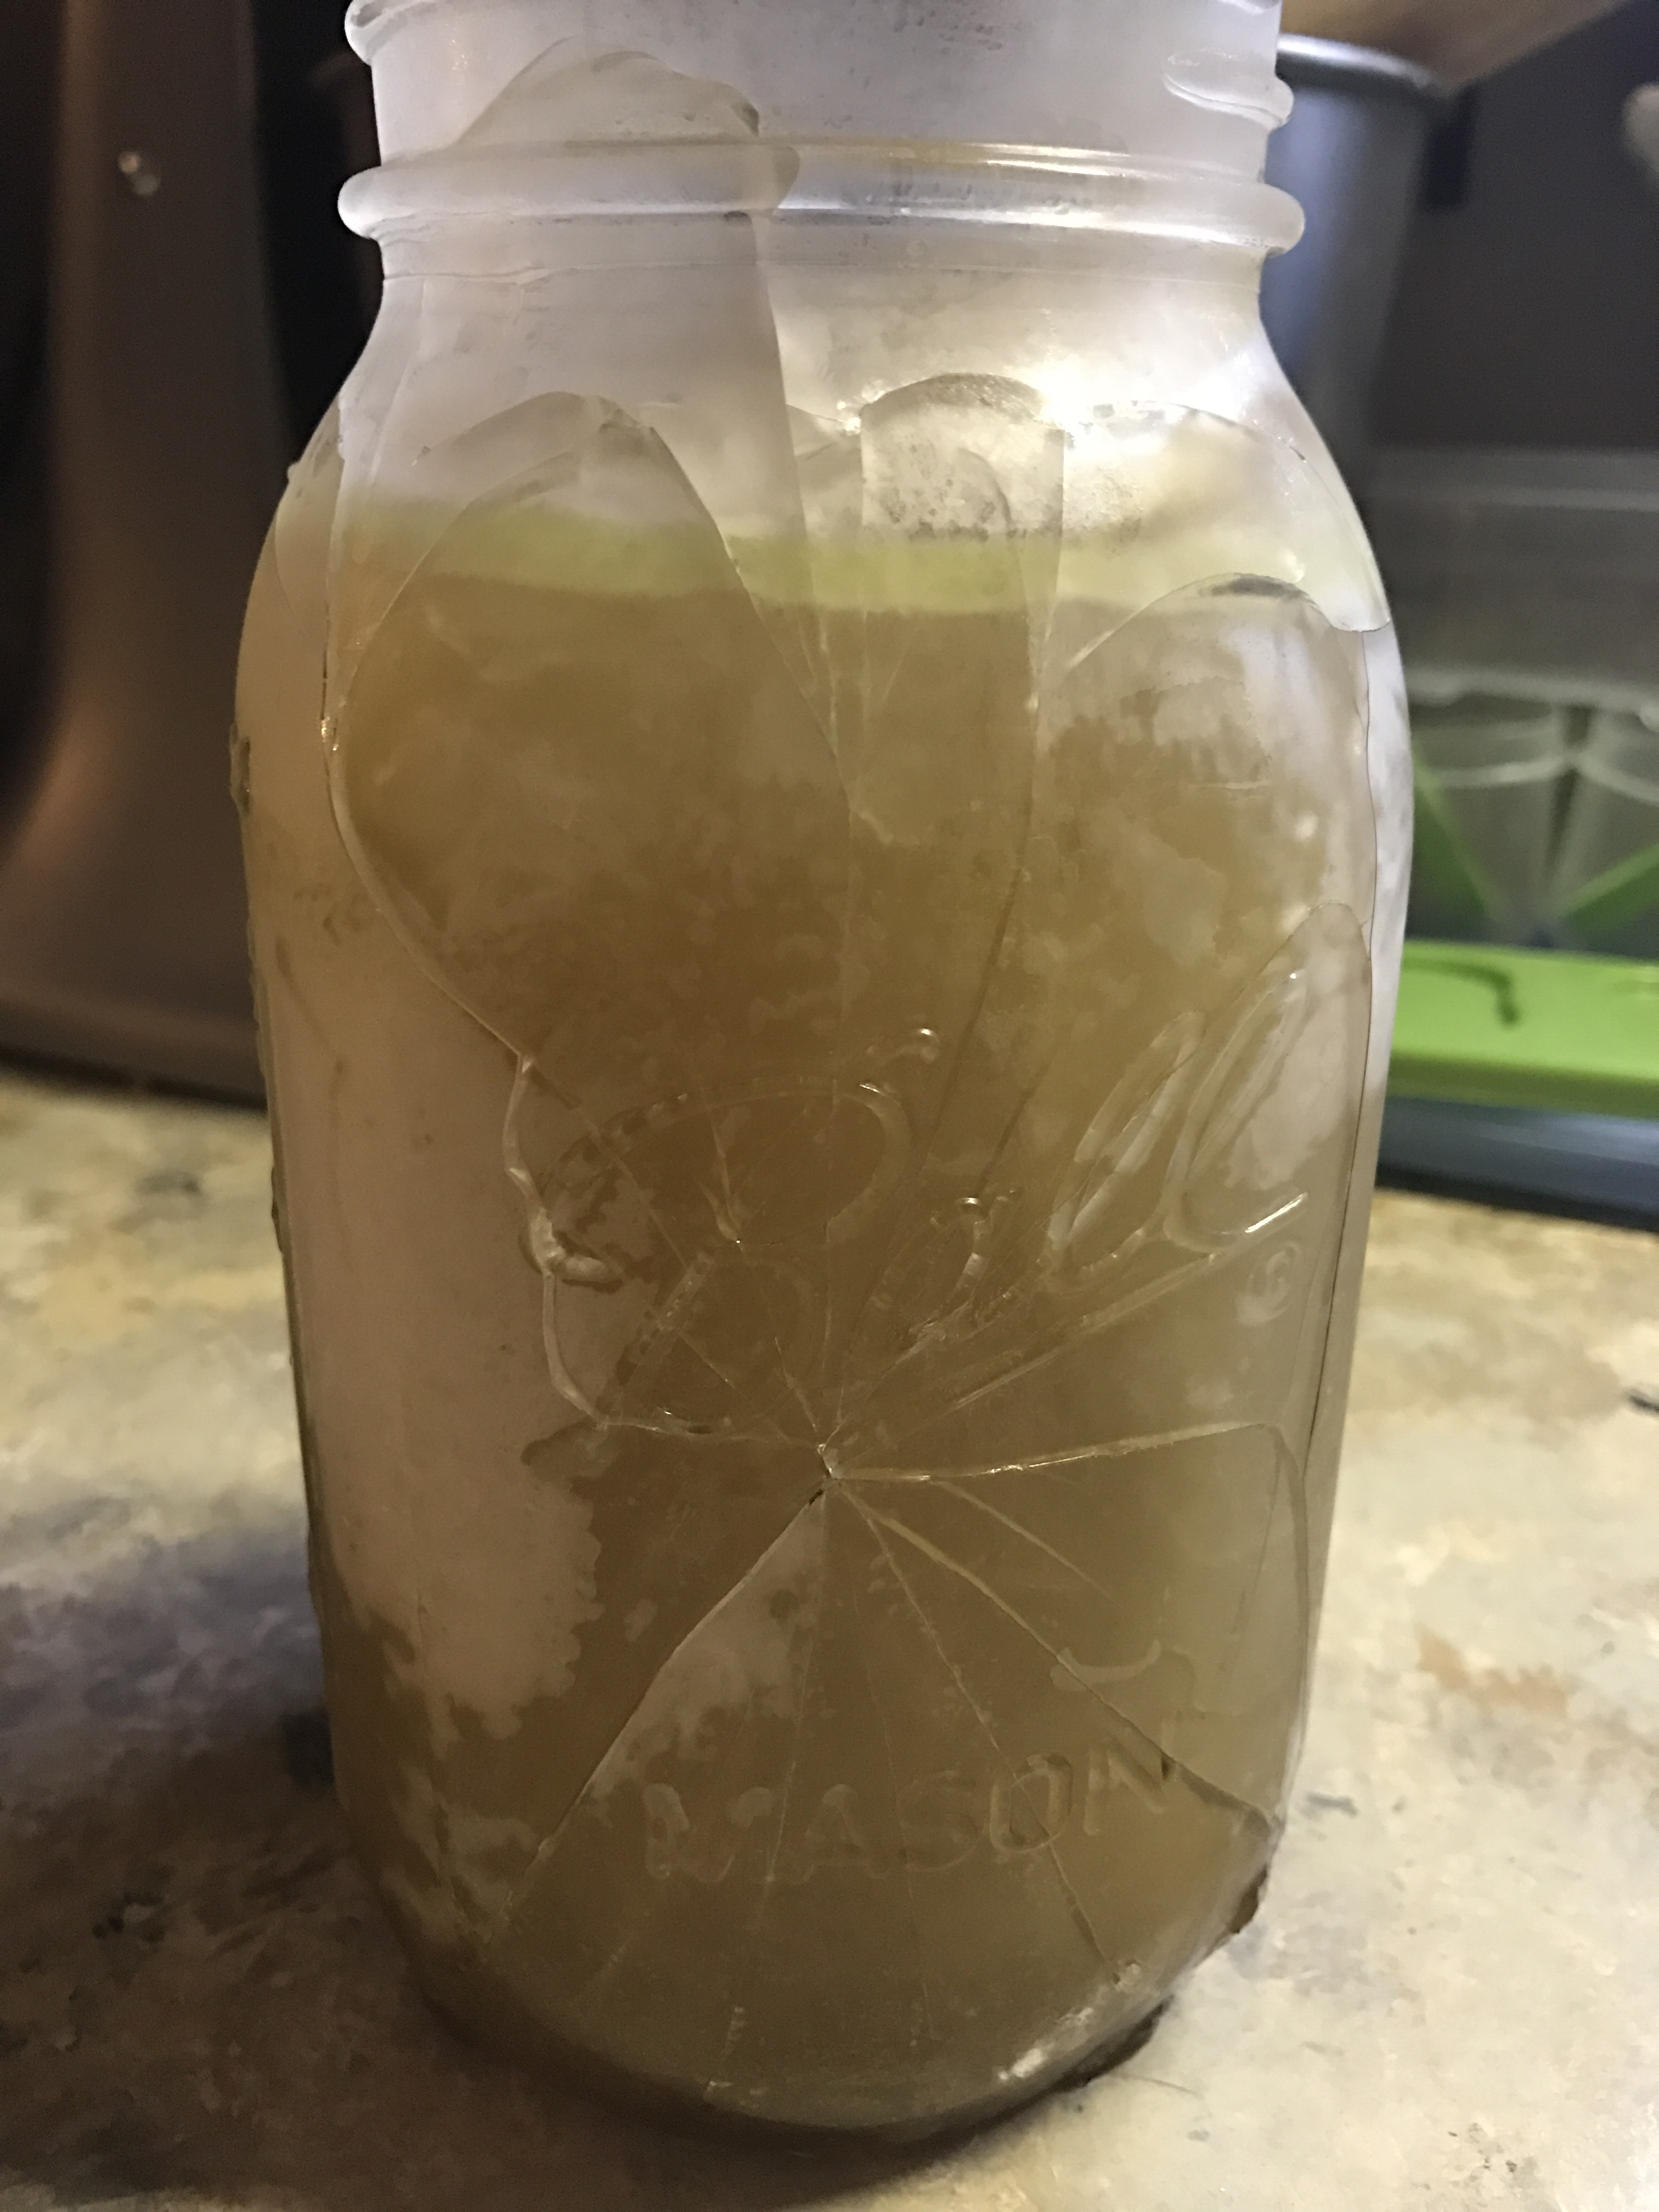
So, even though it’s prettier to use mason jars, you should probably opt for a plastic container instead.
Anyway, I hope you all enjoy this recipe and use it to make lots of soups, stews, and other good winter eats!

